


As promised, here’s the full recipe and tutorial.
Thank you to everyone who tuned into my live demo. I love bringing you into my home and my kitchen. If you missed out, you can join me for my next live video in the app…

Apart from eating kimchi straight from the jar, in a cheesy toastie, or with avocado and baked rice, we love making kimchi pancakes and broccolini with kimchi cream. Both recipes are mad easy and outrageously nourishing.
If you fancy making something less complicated, I recommend fermenting fennel. Just two ingredients - fennel and salt. Here’s the full recipe.
And if you want to learn more about gut health and inflammation, here’s my post on that. Thank you to my paid members who funded the hours of research, collating great podcasts, interviews and books. It’s a great geek out sesh - I highly recommend a listen!
Love, light, and salty madness,
Susan Jane
x

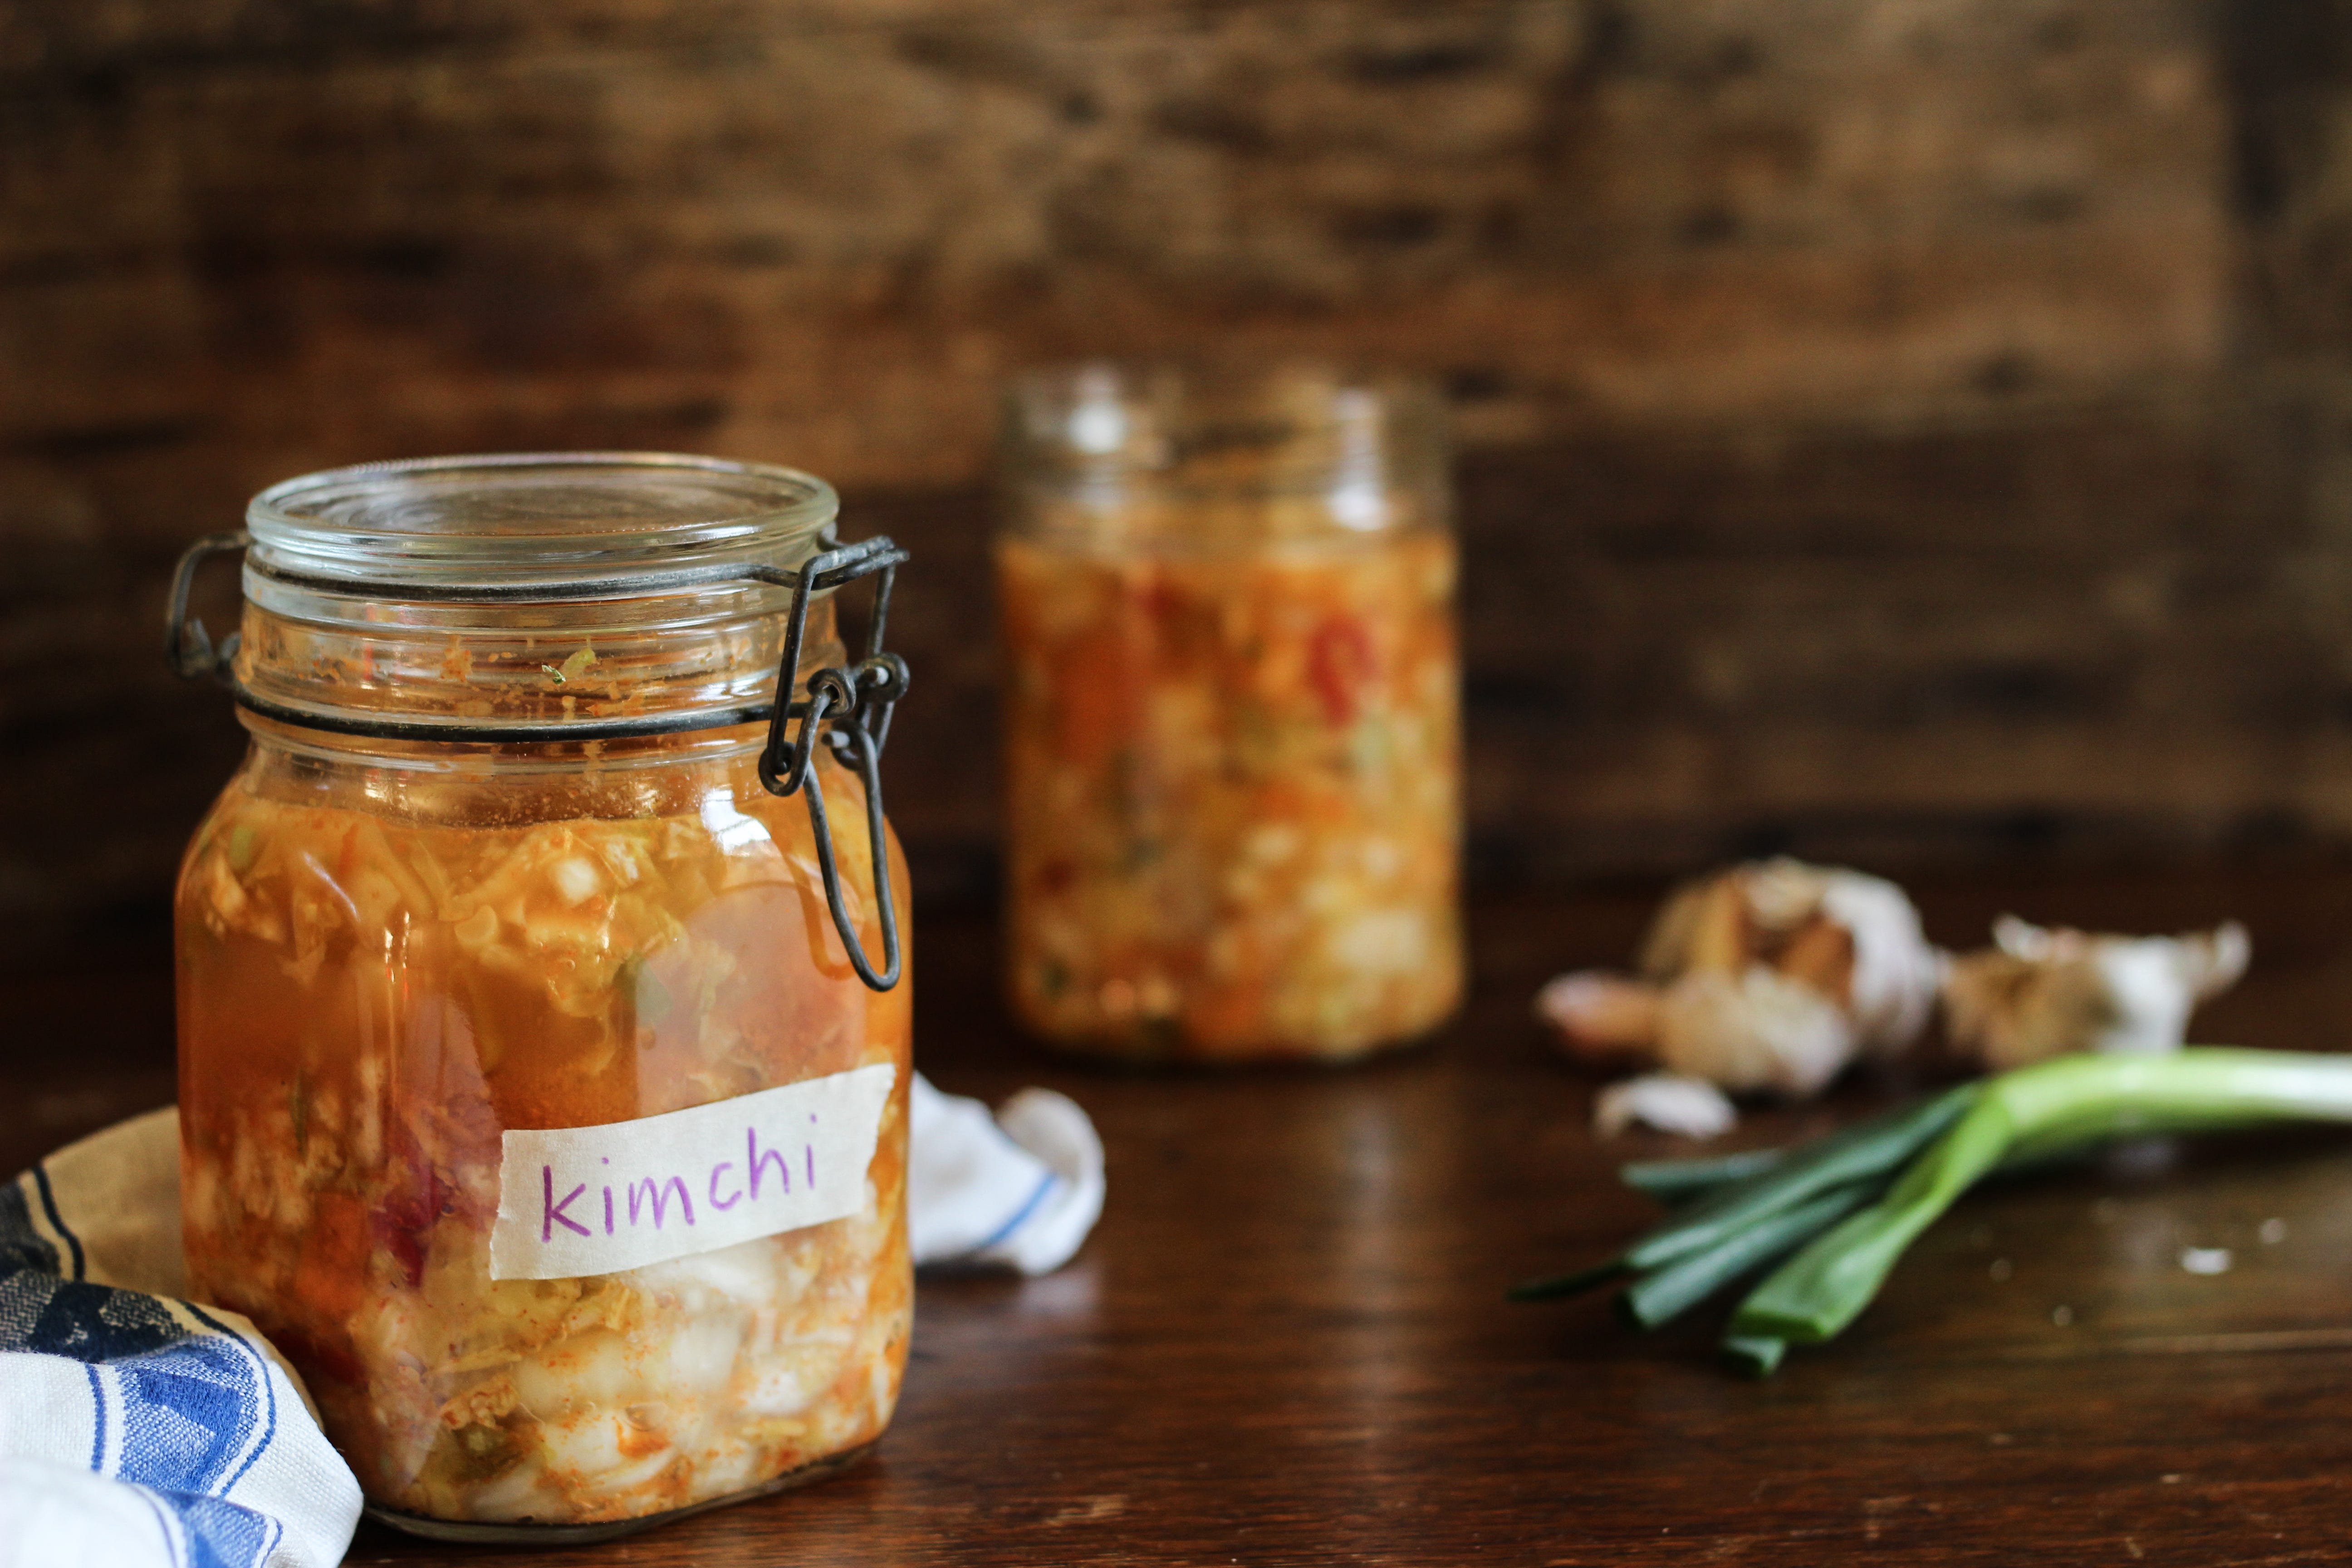
// Mango Kimchi//
Do ensure the kimchi stays nestled underneath the brine at all times. Even during storage. This will prevent spoilage.
800g Chinese leaf cabbage, shredded
1 heaped tablespoon good quality, fine sea salt
1 carrot
4 spring onions, sliced
1 fresh chilli, sliced
1 mango, flesh only (about 150g)
4 garlic cloves
1 big lump ginger
1 tablespoon nam pla (a type of fish sauce available at the Thai section at supermarkets)
1 teaspoon Korean chilli flakes (gochugaru) or any chilli powder you have

Step 1
Pop the shredded cabbage into a large ceramic bowl, and sprinkle liberally with salt. Briefly massage the salt into your veg. Cover with cold filtered water, weigh it down with a plate, and leave for 1-2 hours.
Step 2
After an hour or so, briskly rinse the salted veg under cool running water for a few seconds only. Drain, and return to your large ceramic bowl.
Step 3
Finely slice your carrot using a potato peeler. This saves on chopping skills, and results in really pretty ribbons of carrot. Drop into your shredded cabbage, alongside the sliced spring onion, your fresh chilli and the chopped mango. Set aside while you get going on your kimchi paste.
Step 4
Bash the garlic, ginger, nam pla and chilli flakes/powder into a paste using a pestle and mortar or a blender. Spoon this gloriously spicy paste into your bowl of veg and massage until it’s practically swimming in its own natural brine. This will take 8-10 minutes of manipulation. Don’t give up! (A good podcast helps).
Step 5
Decant and press the kimchi into pristine-clean jam jar(s), so the brine rises up to cover the veg.
Add a weight, such as a clean shotglass, and seal the jar at room temperature for 3-5 days. Fruit kimchi can ferment much faster than traditional kimchi blends. I like to stand mine in a bowl to catch any adventurous brine going AWOL while it fizzes and burps on my counter top. Taste every day, to track its progress, and remember to press the kimchi down with your weight before resealing.
Transfer to your fridge when it reaches your preferred octave, and enjoy within 5 weeks. That’s it!


