Join me on Substack! I’ll be deleting this website shortly but you can continue to access my recipe drops over on Substack. Hope to see you there!

x For Freezer x

Miso Caramels

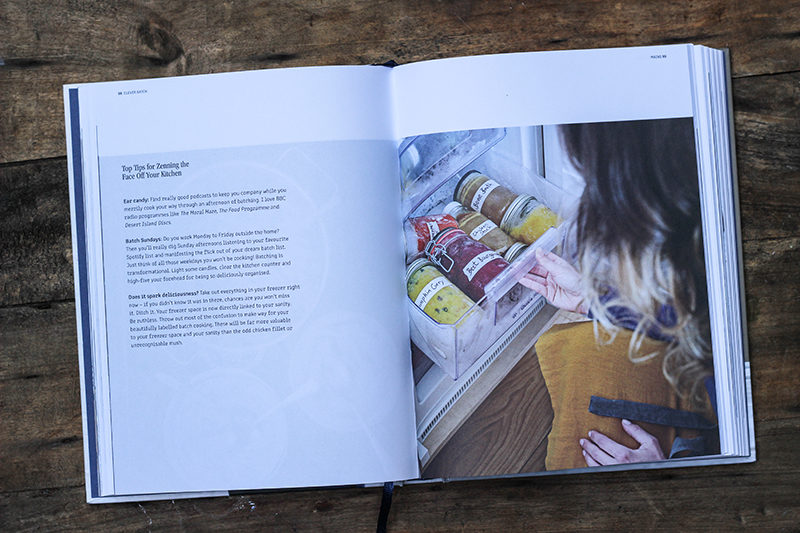
Soon after posting a picture of my freezer over on Instagram (@SusanJaneKitchen) there was a steady stampede of kitchen nymphs demanding to know (a) what were miso caramels? (b) why the hell had I ANY left in my freezer?

I hear you.

These healthyassed caramels fill my toes with magic and pinball me around the house with happiness. No white sugar, butter or thermometers required. Instead we use licky-sticky Medjools and roasted cashew butter, whipped into submission.

And if you’re vegan? This could be a transcendental moment. Dating a vegan? Jackpot.

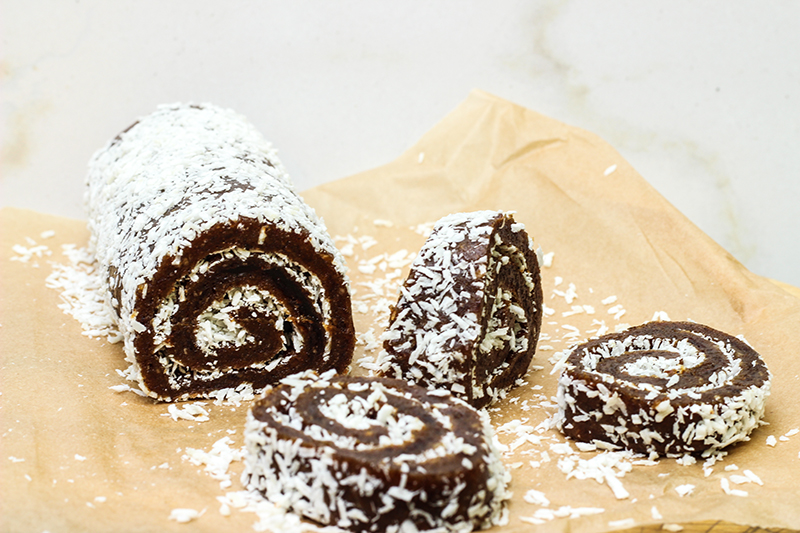
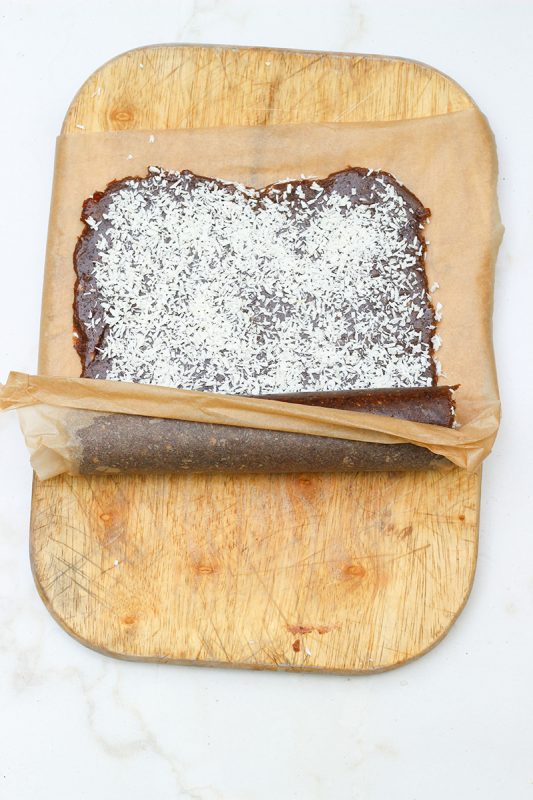
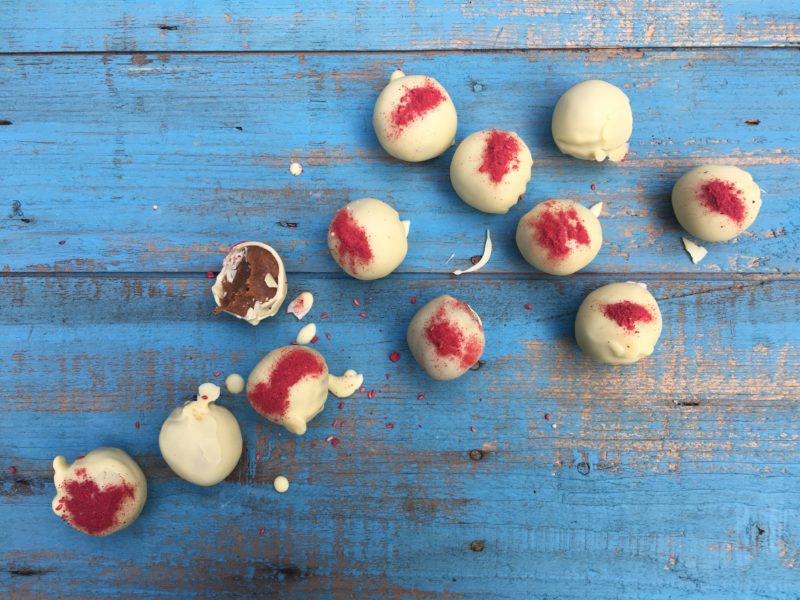
The secret to creating miso caramels is in pouring just enough hot water (or try coffee!) into the mix, facilitating a creamy, luscious whip that doesn’t set when frozen. Then we store them in the freezer behind the fish fingers where no one will find them. You can choose a white cacao shell to coat, with dehydrated strawberry powder (as pictured). Or just plain dark chocolate. Often they go straight into our mouths from frozen, no shell or rolling necessary.

Makes 50-60

25 Medjool dates

1x 185g jar of roasted cashew nut butter

100ml-125ml boiling hot water from the kettle

Squeeze of lemon

2 tablespoons sweet white miso paste

150g dark chocolate

.

Soak the dates in boiling hot water for 4-5 minutes. While the dates soak, warm the jar of cashew nut butter by carefully placing the sealed jar in a bowl of hot water.

Drain the soaked dates, discarding the soaking liquid. Remove and compost the date stones. Blitz the fleshy dates with your warmed cashew butter, hot water, a squeeze of lemon and miso paste in a food processor or blender until smooth. If your kitchen is cold, the mixture might seize up. You can fix this by adding a little extra hot water.

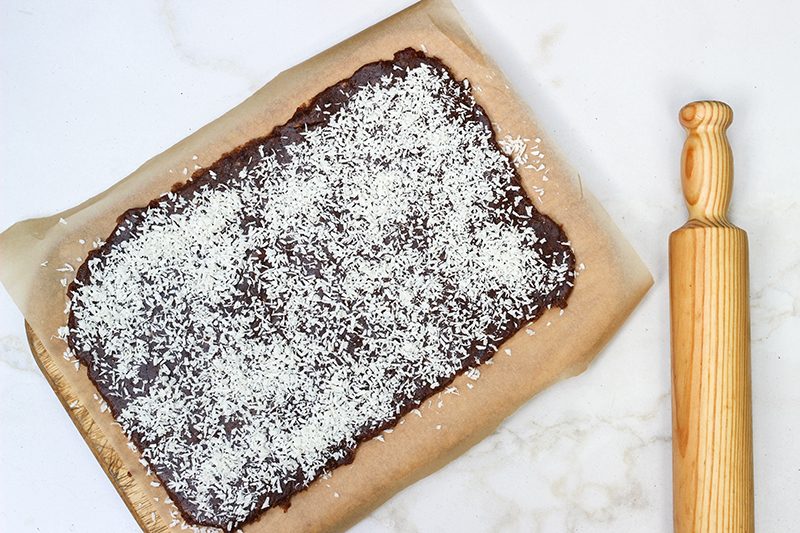
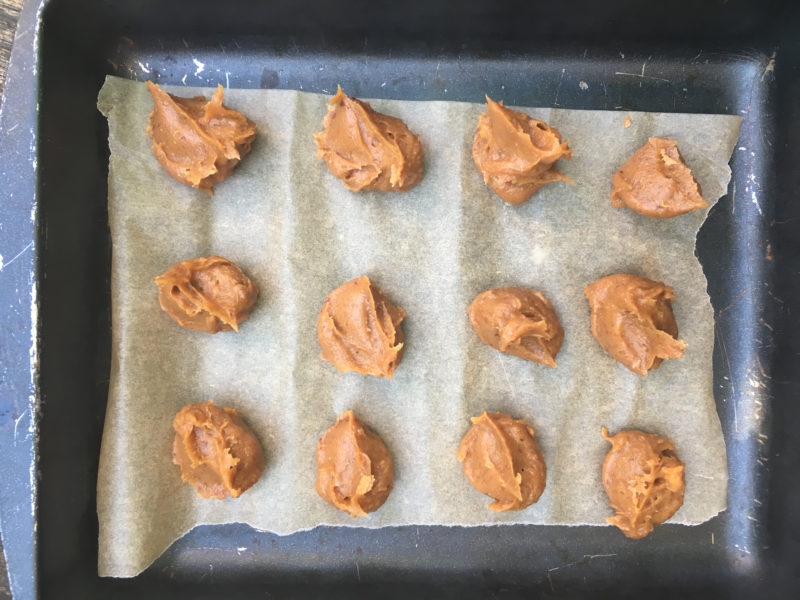
Scrape the sticky ball of caramel into silicone ice cube molds to set (unless you feel you added a lot of water, in which case it’s best to use teaspoons as outlined below). I do this in several batches because I have only one silicone tray. You could also use two teaspoons and lots of patience, rolling the mixture into beautiful little bonbons and dropping on a lined tray to freeze until set (as pictured below, which is my preferred method).

When the caramels are frozen, collect them in a ziplock freezer bag.

As soon as all the caramels have been formed, frozen and collected, melt the chocolate over a bain marie. This is basically a pot of simmering water, 2.5cm in depth, with a heatproof bowl sitting on top where a lid might otherwise have gone. The contents of the bowl will gently melt from the steam of the water underneath. The trick is not to let the water violently boil or let the bottom of the bowl touch the water underneath. Sometimes I add cacao butter shavings if I have them, to help the coating behave better.

Briefly and briskly tumble each caramel into the melted chocolate directly from their frozen state. I find a fork handy for this step. Let the chocolate-coated caramels set on non-stick baking paper in the freezer before popping back into your reusable freezer bag or glass jar. Store them in the freezer, ready to plunder at will. You can eat these straight from frozen. Alternatively, they will last for 90 minutes outside the freezer to serve at parties.

In other news, I’ve been nominated for The Irish Book Awards for cookbook of the year.

If you are feeling generous (maybe have a batch of miso caramels in your belly first!) I’d be so grateful if you would consider clicking this link and ticking the box beside my name for your vote. Every vote counts, and I’m in way over my head beside some stellar cooks like beloved Donal Skehan, Diana Henry and the Ballymaloe empire. Wish me luck!

Events

New Cookbook, Clever Batch

Ta-dahhhh!

This cookbook chronicles the skill-set I have learned in the kitchen as a financially squeezed, time-pressured mum. Batch cooking has opened up a whole new world for me; a world without kitchen cuffs, wailing children, superfood sonatas or pans to scrub.

Care to join me there?

Lots of tips to put the ease back into freeze

As an under-caffeinated, financially cramped, time pinched mum, my kitchen management needed re-evaluation. Sometimes I got it right. But most evenings I felt like a Winegum in a combine harvester. Being short on time, money and patience, I had a problem.

I wanted to cook badass nourishing meals but I didn’t want to cook every single night. I wanted to reduce the honking stress at 6pm in our home. I wanted to spend less time in the grocery store looking for arcane ingredients. And I wanted to spend more time at home, high-fiving my genius. I didn’t need another freaking meditation app. What I needed was to get through the month without maxing my Visa or adrenal glands.

So these days, my freezer plays an Oscar-worthy role.

You can grab your copy in bookstores nationwide, or home delivery outside Ireland with Amazon.

Vegan &/or Raw, x For Freezer x

Medjool, Miso & Coconut Pinwheels

I’m all about finding sweets to love, that will love my body back. I enter a state of limerence milling into these pinwheels. How can something so healthy taste unstintingly sinful?

Bringing the right combination of flavours together is nothing short of bewitching. When the list of ingredients is short – like this one – and requires absolutely no cooking, a tingly infatuation takes control of my motherboard. I morph into a culinary Steve Irwin, telling everyone what’s happening in my wild kitchen life.

These are basically pimped up pinwheels, inspired by Jessica’s genius from One Part Plant. I love her vibe. These guys are cleverly stored in the freezer, which is almost the same as having treats-on-tap. This is real fast food brothers and sisters, with a nutritional slam dunk.

3 tablespoons sweet white miso
2 cups medjools dates, stones removed
3 tablespoons coconut flour or ground chia seed
3 tablespoons cashew butter
Soft, desiccated coconut to roll

Using a food processor, blitz the Medjools, miso, coconut flour or milled chia, and cashew butter until a rough doughball forms. Splendid. Now smooth it onto parchment paper using a silicone spatula (see photo above). Depending on how squishy my medjools are, this can be straight forward, or damned messy. Be patient. You’re looking for 5mm thick.

Neaten the edges, ensuring a similar depth across the dough. Go for a rectangle rather than square. Shake some desiccated coconut over, and press. Freeze on a flat breadboard for 1 hour.

Take it out of the freezer and roll like a Swiss sponge (see below). Use the parchment paper to help you, as you would do with sushi. The first bit is the trickiest, as you tuck the ‘tongue’ under to facilitate rolling. I use one hand to pull the parchment away from the dough and the other hand to push and roll the dough. Work with what you have sister. Keep rolling into a log until you’ve reached the end and then smooth over the seam with damp fingers. Return to the freezer wrapped in parchment, where it will live until your guests arrive.

A special announcement

Join me on Substack

Howdy! I’ll be deleting this website shortly. Gah! But please stay in touch – I so appreciate your loyalty and lovebombs.

You can continue to access my recipe drops over on Substack.  Hope to see you there, and to continue frolicking on this veggie-fueled dance floor.